Prerequisites
Creating an app
Let's get going!
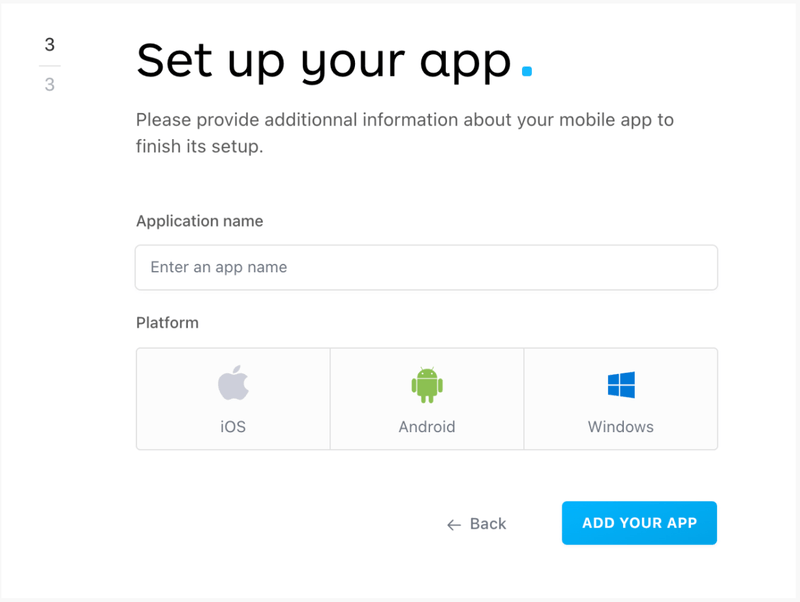
The very first step is to go to Batch's dashboard and create a new Android app.
Now let's generate your push keys and put them in Batch's dashboard.
Getting your FCM Service Account Key
Here are the steps you need to take to find your FCM Service Account Key.
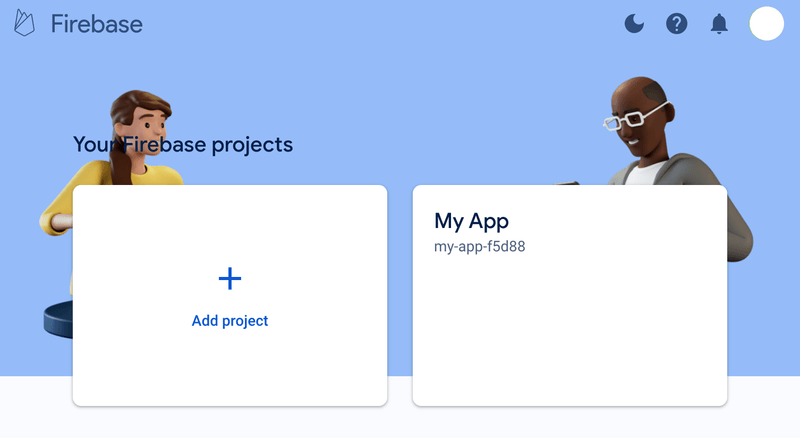
First, go to the Firebase console. Once you are logged in, select your existing project or create a new one.
Then, click the ⚙ next to your project name and "Project settings". Click the "Cloud Messaging" tab.
If the "Firebase Cloud Messaging API (V1)" is marked as disabled, you will need to enable it by following these steps:
- Click on the 3 dots next to "Firebase Cloud Messaging API (V1)"
- Select "Manage API on Google Cloud Console"
- A new tab will open. Click on "Enable"
- Wait until the page reloads with a different content. A "DISABLE API" button should appear
- Close the tab, go back on the Firebase settings and refresh the page
- You should now be able to manage service accounts and service account keys
Next, click on the "Service Accounts" section.
From here, you'll be able to generate a key by clicking on the blue "Generate new private key" button.
It will be saved on your computer as a .json file.
Important: Make sure you choose an existing project instead of creating a new one if you are migrating from an other push provider.
Note: If you're creating a service account key from the Google Cloud IAM & Admin console, please make sure the service account you're creating it from has the right role and permissions to create messages on Firebase. Currently only one permission is necessary :
cloudmessaging.messages.create.
Configuring Batch Push
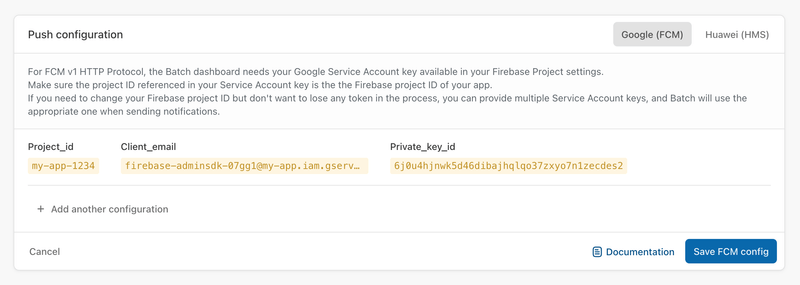
Now go to ⚙ Settings → Push Settings on Batch's dashboard and fill the Service Account Key field, either by drag & dropping the .json file or by selecting it from your computer.
License Attribution
As Batch uses open-source software, you must include attribution text in your application. This usually goes in a "Legal Notices" or "About" screen.
You can get the attribution text here.
Note: Batch provides the license text in the maven central artifact metadata. If you use a gradle plugin that automatically extract attributions from your dependencies, check if it didn't automatically add the attributions.


