Push setup
Setting up the Push
Associating your app with the Windows Store
If your app is already on the store or you know how to associate it in Visual Studio, feel free to skip this part.
In order to make your app pushable, you'll need to associate it with the Store application you've created.
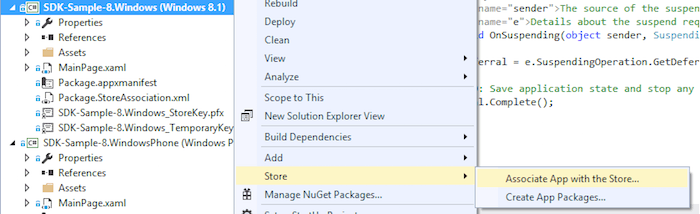
To do so, open solution in Visual Studio, and right click your Application project. Then, select Store → Associate App with the Store...
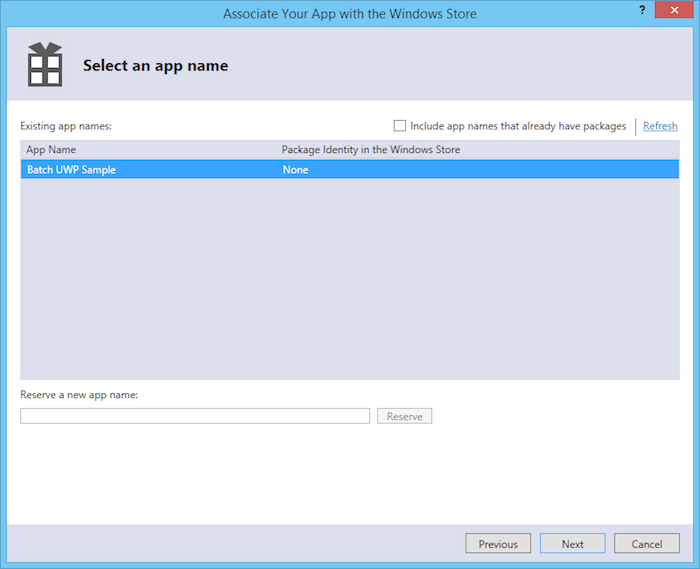
In the resulting window, pick your application and press next.
Here you should see the same Package Name (blank in this sample screenshot, but the fields you see should be filled) than the one you had alongside your Package SID and Client secret. If not, go back and pick the appropriate app.
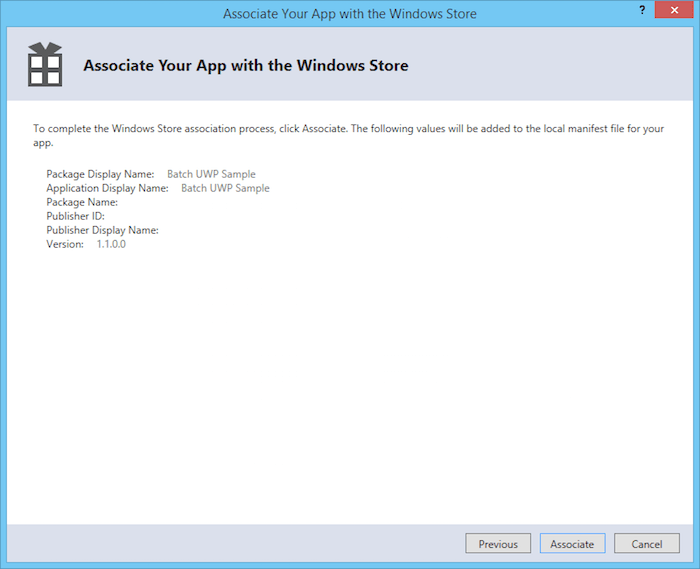
Press "Associate" to finish.
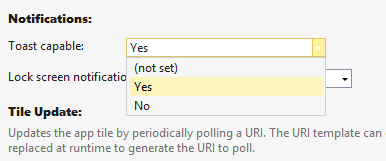
Enable Toast capabilities (8.1 only)
In order to be able to display Toast notifications, your app need to declare that it supports them.
To do so, simply open the store manifest, and enable toast notifications:
Integrating Batch Push
In order to give you reliable "direct open" stats and make sure analytics are reliable, you need to add two more lines in your Application class, depending on the platform you target:
Windows 8.1/Windows Phone 8.1
using BatchSDK;

namespace MyApp
{
    sealed partial class App : Application
    {
        protected override void OnLaunched(LaunchActivatedEventArgs e)
        {
            Batch.Core.HandleApplicationStart(e.Arguments);

            ...
        }
    }
}
Universal Windows Platform (UWP)
using BatchSDK;

namespace MyApp
{
    sealed partial class App : Application
    {
        protected override void OnLaunched(LaunchActivatedEventArgs e)
        {
            Batch.Core.HandleApplicationStart(e.Arguments);

            ...
        }

        protected override void OnActivated(IActivatedEventArgs args)
        {
            Batch.Core.HandleApplicationStart((args as ToastNotificationActivatedEventArgs)?.Argument);

            ...
        }
    }
}
While
OnLaunchedis already implemented in the application templates,OnActivatedis UWP only and might not already be overriden. You simply can override it and add the Batch call.
Your first notification
1. Obtaining your device token
After deploying a build to your device/computer while linked to your Visual Studio instance, you can check the Output logs for your token:
[Batch] Push - Push token/URI: X
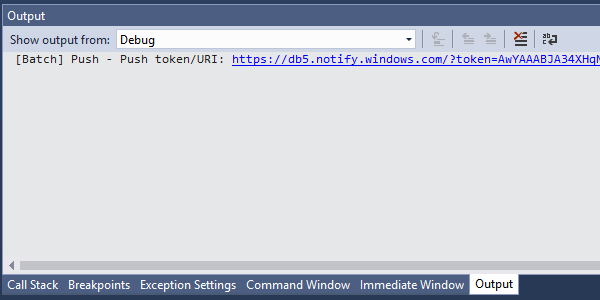
Where X represents the Batch Push URI (or Push Token) for your device, including the "http://xx.notify.windows.com/?token=" prefix.
If you didn't call
SetDebugWriteras shown in the Inital Setup page, you may be unable to see this log. If you're unsure of what to do, please go back to this page before you continue.
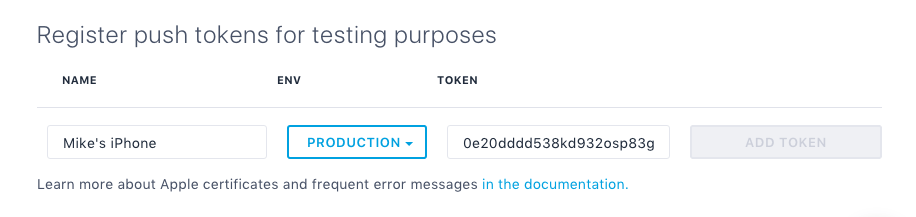
2. Sending a test push
Go to ⚙ Settings → Push settings, paste your device's token and click on Save.
Then, all you have to do is to click on the "Send" button. If you sucessfuly set up the SDK, you will receive a notification on your device.
What's next
Congratulations on finishing the integration of Batch Push!
Here are a couple of extra steps you can take before releasing your app:
- Custom user identifier: Add support for custom user identifiers if you are planning to use the Transactional or the Custom Data APIs.
- Token import: Import your existing tokens if you're coming from another push provider.